Setting Up Social Media Widgets on Your MotoCMS Website [Tutorial]
Social media buttons are must-have for any website. But there are more handy solutions that can help you connecting to your audience on social networks and draw their attention directly to your website. MotoCMS has recently added a collection of the most popular social widgets to its website builder to allow its users connect the website audience.
Using Social Media Widgets in MotoCMS 3 Templates
Here you can find step-by-step recommendations on how connect each one of Social Media Widgets with your or your brand’s social account and set it up to work perfectly on your website.
Twitter Timeline
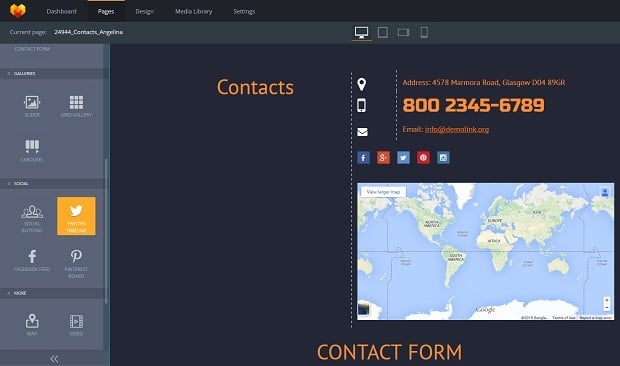
Adding Twitter timeline to the website is easy as pie. First, you should choose a place in your layout where you wish to add the timeline. This can be a content section with sidebar that allows you to use it for promoting your social accounts. Or it can be a Contacts page where you already have your social buttons.
Simply drag and drop the Twitter timeline widget to the area of your choice. On the right panel that appears instantly you will see all the settings you may need to integrate timeline to your website. For a start, you should enter your Twitter widget ID to integrate it to the website.
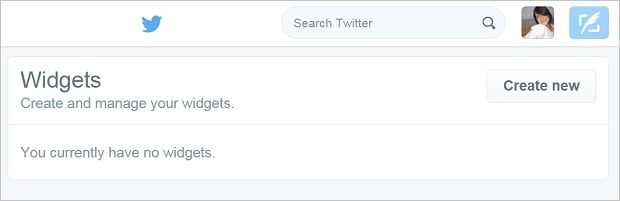
How to get an ID? No problem, follow the link from the right panel that will get you to your Twitter account settings where you can create a unique widget. Click the “Create new” button. You will be sent to a special page where you can set up your Timeline widget look, title etc. You can also choose what to show to your website visitors: whether it will be your timeline, or your Favorites, Lists etc. After creating a new widget you should copy the 18-character ID in the URL (right after /widgets/) and paste it to the Widget ID field in your website admin panel.
That’s it. Your Twitter Timeline appears on your website immediately. Then you can set up the spacing, SEO title, color scheme (light, dark or transparent), the number of tweets to show (Tweet Limit), language (it’s English on default, but you can choose any from a huge number of languages). You can also hide header or footer of your widget.
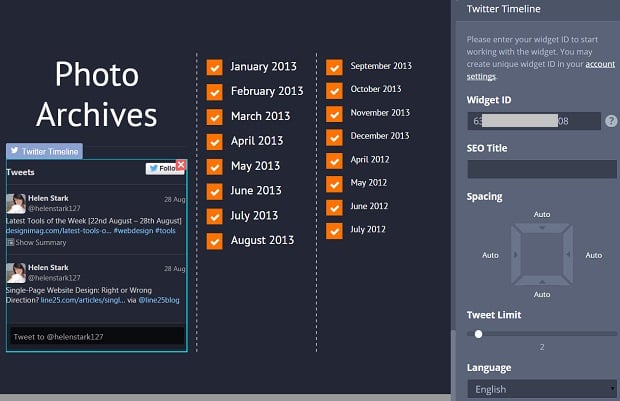
The great news – Twitter Timeline widget comes responsive, so it will look perfect on any device.
Facebook Feed
Integrating a Facebook Feed to the MotoCMS admin panel is even easier. Again, you should first choose an area where to show it. Then drop the Facebook widget there. The Settings panel appears instantly and allows you to tweak your widget the way you need.
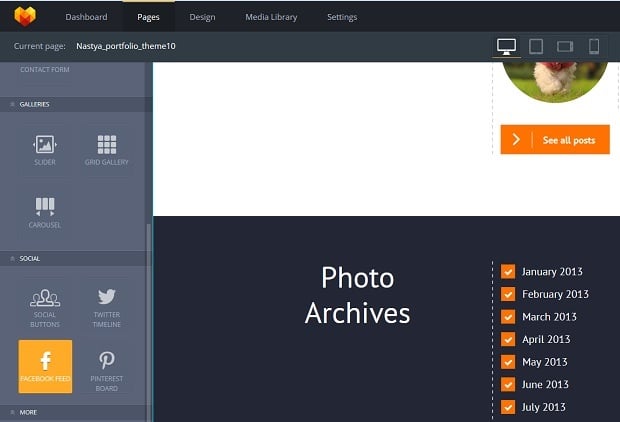
To show your Facebook page feed you don’t have to create widgets like you did for Twitter timeline. Just copy your page URL and paste it. The Feed appears on the website page and you can tweak its look according to your preferences.
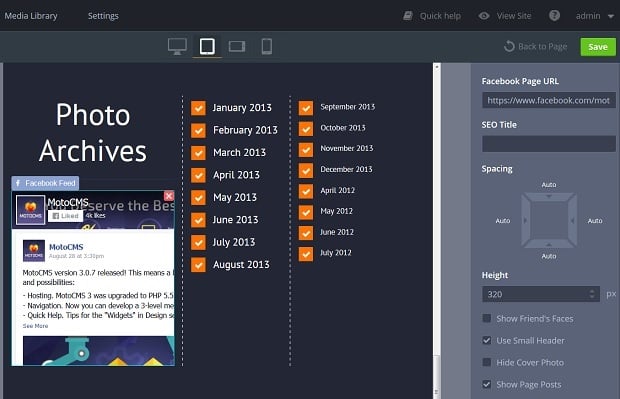
Thus, you can choose whether you wish to show friends’ faces, hide your cover photo or use small header. You can also select to hide your feed’s posts, however, I’d recommend you to show them. Anyway, it’s a news feed widget, so the point is in displaying the posts for your website visitors.
Other settings include SEO title, like for Twitter widget. Unfortunately, Facebook provides non-responsive feed widget, so it will look a bit quirky on smaller devices.
Pinterest board
Adding a Pinterest board to your MotoCMS-powered website is similar to the way you added a Facebook feed. But here you have less settings to tweak.
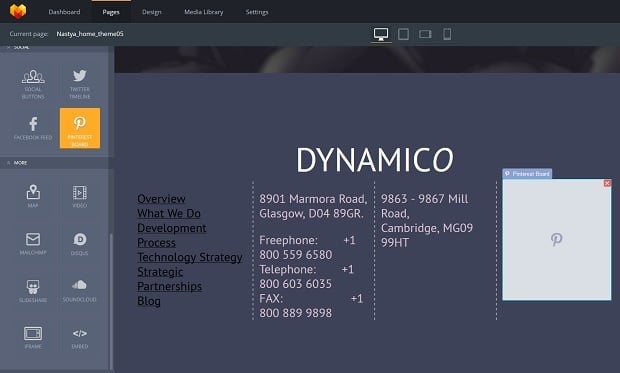
Drop the widget to the area you choosed. To make your board appear on the website just add the URL of your Pinterest board to the special field on the right panel. Voilà! Now you can set up the spacing around your board, the width of images shown (it will affect the number of image rows) and the entire board height.

That’s all. Like Twitter timeline, Pinterest provides responsive widget. Thus your users will enjoy good quality pictures on any device.
SlideShare
SlideShare offers its users the easiest and the most settings-poor widgets. You just drop the widget to the admin panel and add the URL of the slide you wish to share on this page.
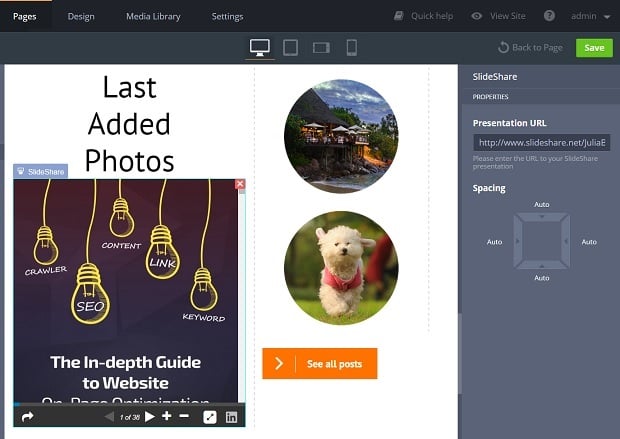
The only adjustment you can provide with SlideShare is set up the spacing around. At least, it is responsive what makes it look perfect on smaller screens.
SoundCloud
SoundCloud widget allows much more tweaking than SlideShare one. With that said, it is very easy to add and set up. This can be a really handy widget for music bands and other sound professionals, as well as for people who run personal pages and wish to share info in a form of podcasts. Well, you can share any item available on SoundCloud if you wish.
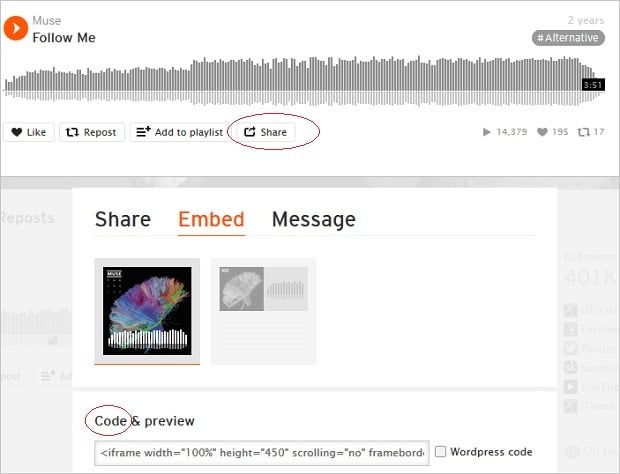
After dropping a SoundCloud widget to the chosen area, you will have to add a track ID (or the entire embed code) to it appear on your website. So, you should go to SoundCloud website, choose a track you need and click the “Share” button. Then, in a pop-up window, choose “Embed” and cope the code. You can also select only the track ID from the code, if you like.
Paste the code into the special field in the MotoCMS admin panel. The track visualisation appears on your website instantly. Then you can tweak the available settings.
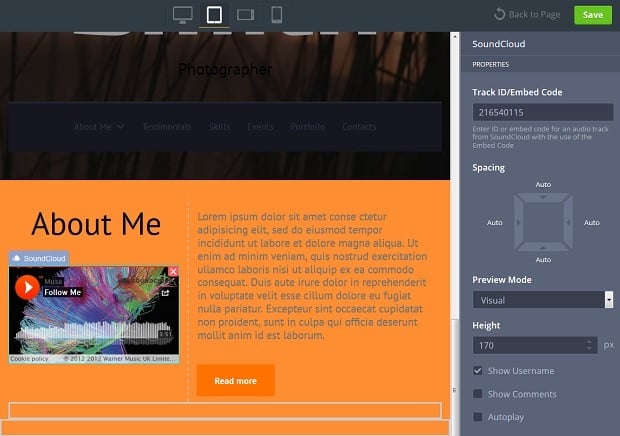
The Preview mode is set up to Visual as default. In this mode you can choose whether you wish to show username or comments as well as turning on/off an Autoplay option. You can also set up the widget height what isn’t available within the Classic Preview mode of SoundCloud widget.
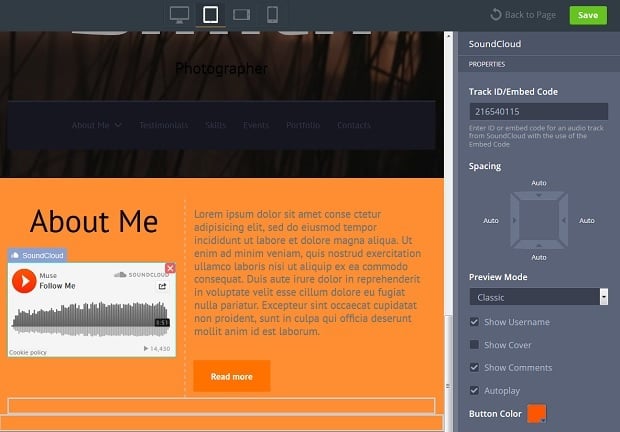
Classic Preview mode also allows you to select whether you wish to show the Cover as well as choosing the Button color or make it harmonize with the entire color scheme or your website.
Traditionally, you can set up spacing around the widget to make it fit into the layout while the responsive design of the SoundCloud widget will help your website perform great on various devices.
Disqus
The last, but not the least, is Disqus widget which is not exactly a social media one. Nevertheless it allows website owners keep in touch with their visitors, engaging with users, establishing brand awareness and receiving instant feedback.
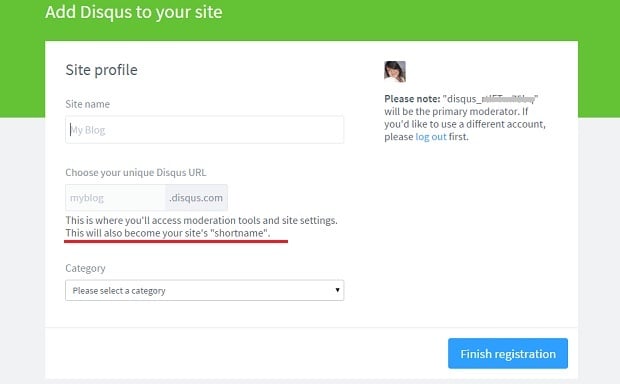
Adding a Disqus widget to your website requires a bit more efforts than setting up other ones. Mostly because of the inner Disqus settings. You should find your account shortname in your Disqus profile and it’s not that easy as it may seem.
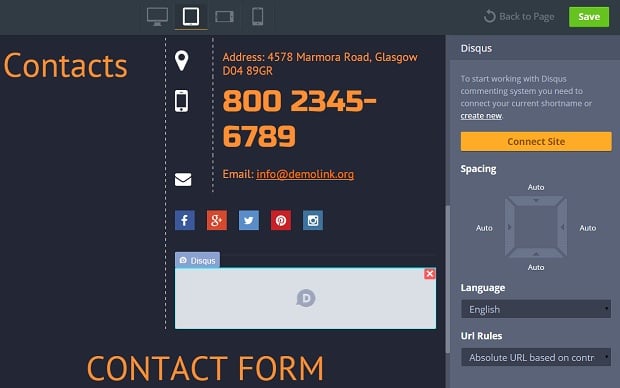
But first, you should follow the steps you’ve run through with the other widgets. Add the Disqus widget to the chosen area of your MotoCMS template. The settings panel will appear on the right with the requirement to add your Disqus shortname to connect the account with your website.
The fact is that inside your Disqus account you won’t find a “Shortname” field. By trial and errors I found out that it’s simply your Username that you should copy. Copy it and click the button “Connect Account” on the right panel.
After that you will be able to edit your Disqus widget settings. They are limited to the Language selection and the URL settings. Unlike Twitter, Disqus offers only three languages: English, Russian and German. Great news – Disqus widget is responsive.
That’s all tricks for now. Check out MotoCMS 3 templates and try social media widgets for the benefits of your website. Use these widgets in bulk or select only a few you need. But remember: widgets should not overload the website design and layout and have to add to the UX, not withdraw from it!


Great post with beautiful theme designs.
Hi on my Blog section of MotoCMS,
When i share the post on Facebook, it always show the “recent post” image , not the image of the post.
I know can add a meta on every post to do that, but that’s not user friendly.
Do you have any ideas?
Dear Mr. Johnson,
Unfortunately, there is no such functionality in our admin panel at the moment. Therefore, the only possible way now is to add the tags manually.
We will do our best to make it more user-friendly in the nearest future, and I will definitely forward your request to our development team.
Thanks for staying with MotoCMS despite the difficulties and keep on suggesting. People like you are those who really make us change for better 🙂